


Menstrual products are essential — but providing them in public spaces is often an overlooked challenge. Students of the Faculty of Architecture at the Czech Technical University came up with design solutions in the form of elegant menstrual supply dispensers. But by combining the university’s design expertise with digital tools and partners, these solutions can reach anyone who needs them. By taking an acclaimed student design and adapting it for 3D printing, together we have created a system that is low-cost, easy to produce, and shareable with any school or office in the world through a digital file.

The need for a design solution
In 2021, Scotland became the first country in the world to protect by law the right to access free period products for anyone who needs them. But the Scottish government has already been funding access to such products in schools and universities since 2018. Nowadays, more than 20 areas in the world engage in preventing period poverty.
Starting this year, this list includes the Czech Republic, thanks to a decree of the Ministry of Healthcare, which requires all educational institutions to provide these products. According to the minister, the goal is to remove barriers to education and reduce girls’ absence from school for period-related reasons.
The assignment and the success
The decree adds importance to a design-build workshop at the Faculty of Architecture at CTU. The workshop, which aimed to design functional and aesthetically appealing containers for hygiene products, took place at FA from September 30 to December 2, 2024.

Dispensers exhibited at the Designblok festival. Photo by Jiří Ryszawy, FA CTU.
From a total of 29 designs created by students, the expert jury selected the three best. The winning designs were exhibited at Designblok, the Prague International Design Festival – the largest exhibition of design and fashion in Central and Eastern Europe.
Spreading the students’ results
This is where my colleague spotted them and immediately fell in love with the design by Pavlína Poláková. She decided that not only did she want one of the dispensers for her own bathroom, but also that we should help the FA to make the design accessible to schools and to all menstruating people worldwide.

Pavlína Poláková and her original design. Photo on the right by Jiří Ryszawy, FA CTU.
FA CTU has already produced dispensers for other institutions during the previous semester. To meet the demand from schools and companies, the project now builds on broader distribution and production possibilities. This makes it possible to scale the project beyond the faculty.
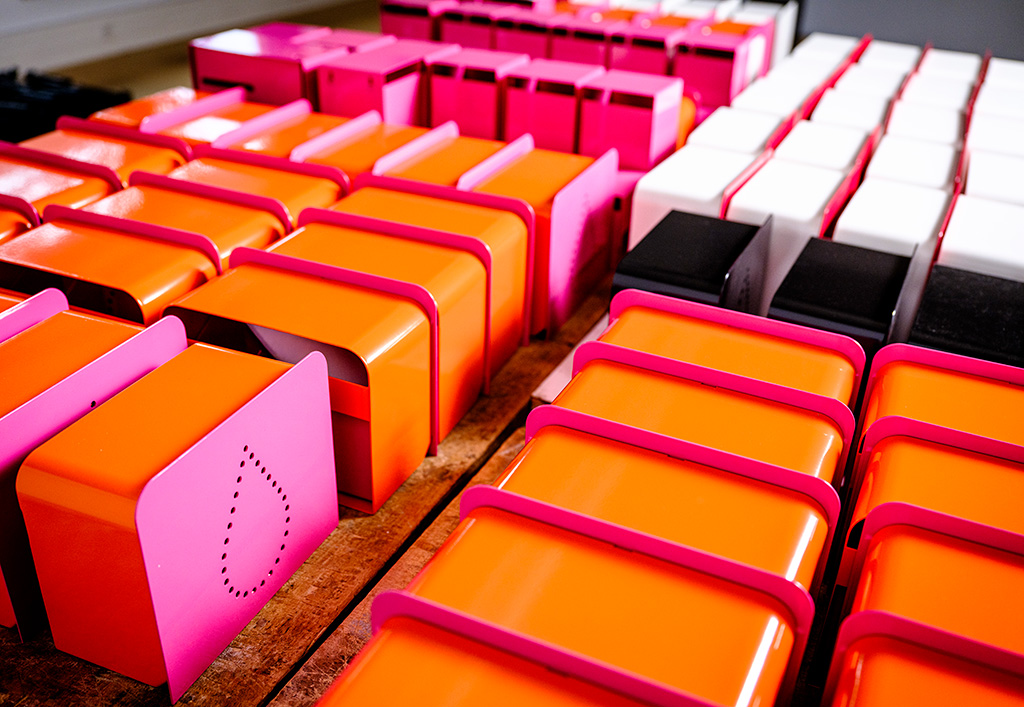
The dispensers before their distribution. Photo by Jiří Ryszawy, FA CTU.
The chosen design
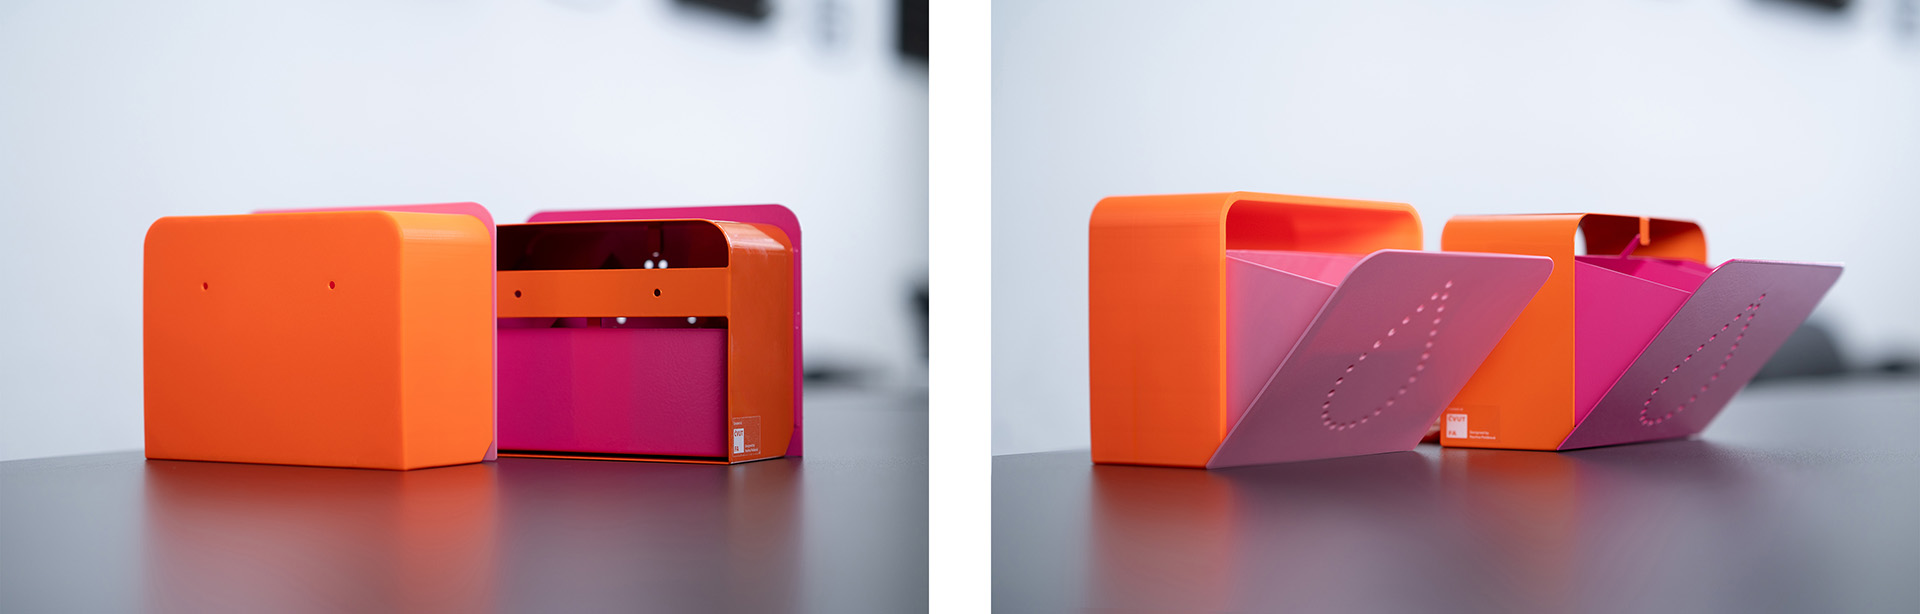
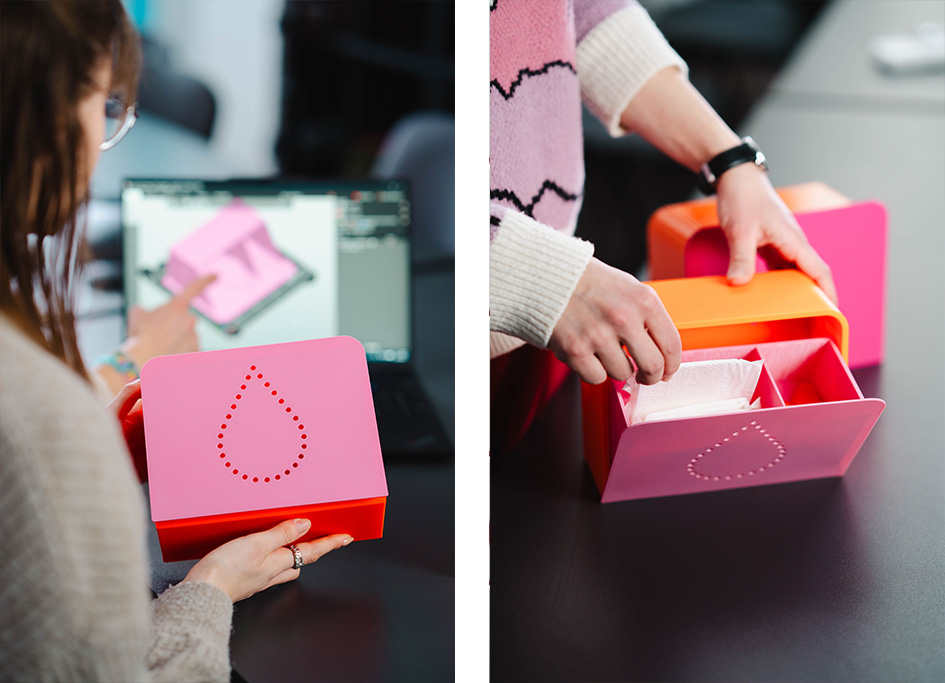
Let’s now have a closer look at Pavlína’s design. She focused on making the bin easy to manufacture and affordable, which would allow it to be installed in as many buildings as possible. It is divided into two parts and can hold approximately 50 tampons and 20 pads.
The dispenser is made of stainless steel and can be painted in colors chosen by the client. It is washable and easy to refill. The front of the dispenser is perforated, allowing you to see if it needs refilling without opening it. There is a stopper on the back that limits the drawer’s opening to a certain angle to prevent items from falling out. The tray can be attached to the wall either by screwing or gluing.
Pavlína’s design has one important advantage over the designs of her classmates. It can be easily transformed from the sheet metal version to a 3D-printable one!

The other two dispensers at the exhibition. The left design is by Tereza Cvrčková, and the right design is by Štěpán Šuster. Photos by Jiří Ryszawy, FA CTU.
From metal to plastic
3D printing an object designed to be manufactured from sheet metal simply does not work. The design principles of these two methods are very different. Printing the original design results in too-thin walls that break even during printing and overall poor quality. You can learn more about Design Principles for 3D Printed Parts from our Prusa Academy course.

The obvious adjustment is increasing wall thickness, but that itself is not enough. On the outside, we wanted to keep the design as similar to the original as possible. Ideally, the 3D-printed and metal dispenser should look identical at first sight.
We chose PETG as the material for prototyping and also the final design for its strength and ease of printing. Its durability makes it an ideal choice for printing mechanically stressed parts, such as the stopper mechanism you find below. Using the textured print sheet gives the front side a nice finish.

The technical adaptation
However, there were two technical aspects that had to be redesigned. Firstly, the sheet metal box’s backside is open with only a narrow bar with screw holes. This is important to reduce its weight. But when 3D-printing such a large, box-shaped structure without a bottom surface, we face warping issues. To prevent this, the 3D-printed box has a full back side. This is quite a minor but important difference.
Secondly, the stopper on the back side that limits the drawer’s opening is a neat solution for the steel box. But 3D-printing this kind of stopper requires adding otherwise unnecessary supports, and the result is still prone to breaking and significantly less stable than the metal version. But it is important to prevent items and the whole drawer from falling out.
Therefore, we came up with a solution that comprises a slot in the inner wall of the box and a stopper on the outer side of the drawer, as shown in the picture below. After printing, you simply push the drawer inside, and the stopper clicks into the slot. This limits the movement to a revolution around the front edge of the box and only within the range of the slot.

Ready for 3D printing
The final 3D-printed dispenser has a number of advantages over the painted stainless steel original. We were able to reduce the weight from 1512 g to 399 g, which reduces the potential risk of breaking bathroom tiles or someone’s toes in case the dispenser falls. A nice extra feature of the 3D-printed design is that, due to a shift of the center of mass, the drawer now closes automatically. The plastic is also easy to clean and disinfect.
In the attempt to offer the dispenser to a wider audience, the FA was able to distribute one for 80 USD (1650 CZK) to cover the materials and related expenses of the small-scale production. Assuming many schools and other institutions already have 3D printers, they will be able to print one dispenser for 18 USD (350 CZK) when using Prusament PETG, considering that other costs per print are negligible.

The total printing time on the Prusa CORE One+ is just above 10 hours.
The colorful possibilities
We printed the final design using a combination of Prusament PETG Prusa Orange and Buddy3D PETG Pink to match the original design. The second most distributed version was pure white, so we also printed some from Prusament PETG Signal White – you can print exactly five dispensers from the 2 kg spool. But of course, the options are much broader than that – the Prusament PETG itself comes in 24 different colors.
Final tips
The resulting design is reproducible and shareable, allowing scalable production and, therefore, even more affordability. Last but not least, Pavlína liked the adapted design, and it is therefore ready to serve anyone who needs it. The Faculty of Architecture created a CTU account on Printables, and you can find Pavlína’s design adapted for 3D printing there. We hope that they will soon share more student designs that come from the studio courses held each semester.
If your school or company would like to have the dispensers in the bathrooms but you do not have access to 3D printers, check out the custom 3D printing service of the Prusa Center.
As a last remark, the 3D-printed dispenser was designed in FreeCAD, the free and open-source computer-aided design (CAD) modeler. We are working on a Prusa Academy FreeCAD course right now.
Now print something that matters, and happy sharing!

You must be logged in to post a comment.